This lesson explains how to locate and use Time on Site tab. This includes explanation of automatic entry of Time on Site information through IVR (Integrated Voice Response), Manual Entry, Edit Entry, View, and Search for missing Time on Site information. The Buyer uses Time on Site information to ensure Provider meets Service Window/Time commitments.
- When you login to ServiceLive, the Dashboard tab will open.
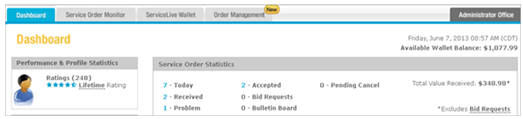
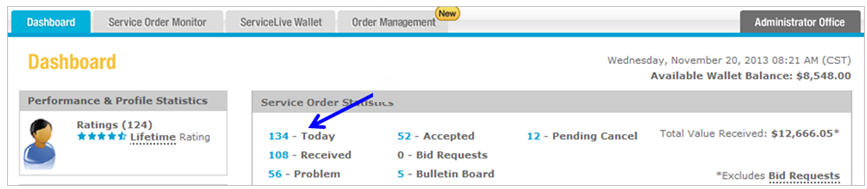
- Navigate to Today tab:
Note: There are multiple ways to navigate to Accepted tab information. Dashboard will show number of orders currently on Accepted tab.- Click on Today link on dashboard.
- OR click on
 tab.
tab. - Click on Today tab.

- Click on Today link on dashboard.
- Search for Active Service Orders:
Note: Details for Today tab Search Filters are available in Today Tab lesson in Service Order Monitor course.- Use Status Filter to search for Active Service Orders.
- Select appropriate Sub-status Filter if needed.
- Select appropriate Service Pro Name Filter if needed.
- Select appropriate Market Filter if needed.
- View Active Service Orders:
- The list of Active Service Orders will display.
Note: Most recent Completed Service Order displays at top of list. - To view entire list, use scroll down on right side of browser window AND
- Use scroll down on right side of ServiceLive window.

- Click on the Title link to view Active Service Order details.
Note: You can also click on button in View Detail column OR click on text in columns to expand/collapse Service Order details.

- Click on
 button to display Summary tab and Time on Site tab.
- The list of Active Service Orders will display.
- Time on Site tab (Overview):
- Many Buyers including Sears RI and Sears Facilities require Providers to use the IVR to report Time on Site information and these Buyers monitor if IVR or ServiceLive platform was used to enter Time on Site. Not using the IVR might result in loss of future opportunities from these Buyers or negatively affect CSAT (Customer Satisfaction Rating) score.
Note: Service Order will indicate requirement to use IVR. - When Provider uses IVR when they arrive on site and depart from site, Time on Site information automatically populates Time on Site tab.
Note: Refer to Using the IVR (Interactive Voice Response automated phone system) lesson in General course for details. - Some Buyers do not require use of IVR or if IVR is down, Providers will need to add entries for Time on Site information manually.
- You can also use IVR or Time on Site tab to Activate Service Order prior to Service Window (Scheduled Appointment Date & Time) because Customer agreed to an earlier date/time for service. You would use this so you can change Service Order to Active status allowing you to then Complete and Submit for Payment when work is completed.
- Many Buyers including Sears RI and Sears Facilities require Providers to use the IVR to report Time on Site information and these Buyers monitor if IVR or ServiceLive platform was used to enter Time on Site. Not using the IVR might result in loss of future opportunities from these Buyers or negatively affect CSAT (Customer Satisfaction Rating) score.
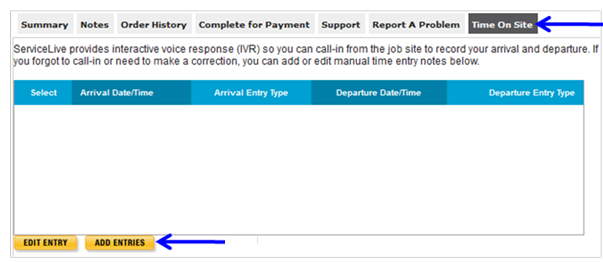
- Time on Site tab (Manually Add Entries):
- Click on Time on Site tab.
- Click on
 button.
Arrival
- Click in Arrival box and calendar will display and select appropriate choice.
- Click on drop down arrow next to HH box (Hour arrived on site) and select appropriate choice.
- Click on drop down arrow next to MM box (Minute arrived on site) and select appropriate choice.
- Click on drop down arrow next to — box (AM or PM on site) and select appropriate choice.
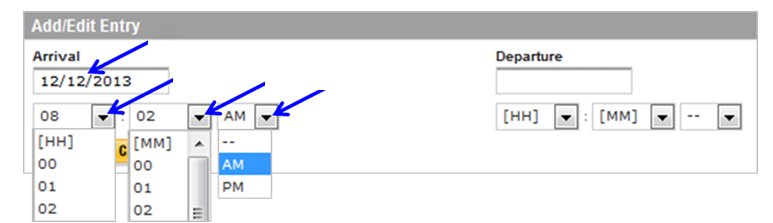
Departure
- Click in departure box and calendar will display and select appropriate choice.
- Click on drop down arrow next to HH box (Hour departed site) and select appropriate choice.
- Click on drop down arrow next to MM box (Minute departed site) and select appropriate choice.
- Click on drop down arrow next to — box (AM or PM on site) and select appropriate choice.
- Click on
 button.
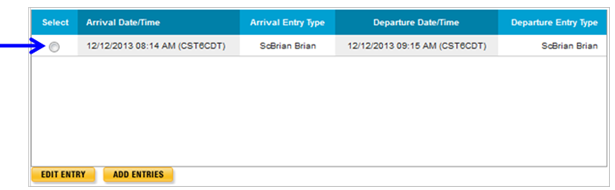
- Once you save Time on Site information, this screen will display.
Note: If there are multiple site visits for Service Order, they will all display.
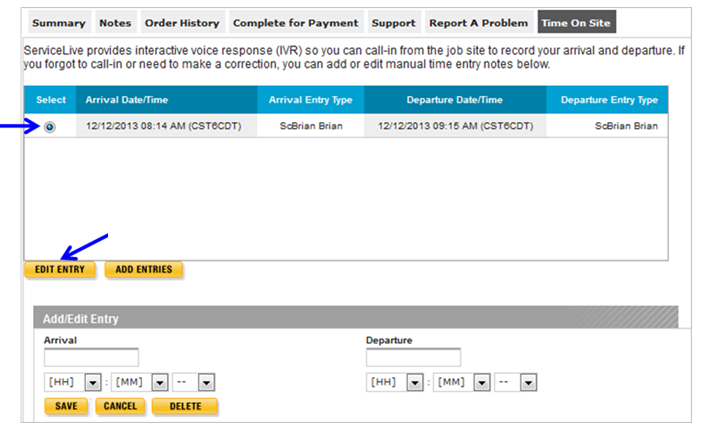
- Time on Site tab (Edit Entries):
Note: If you have added entry and need to edit entry, follow steps below.- Click on radio button for specific site visit you want to edit.
- Click on
 button.
 - Follow Steps 6c – 6k previously explained in this lesson.
- View Entries:
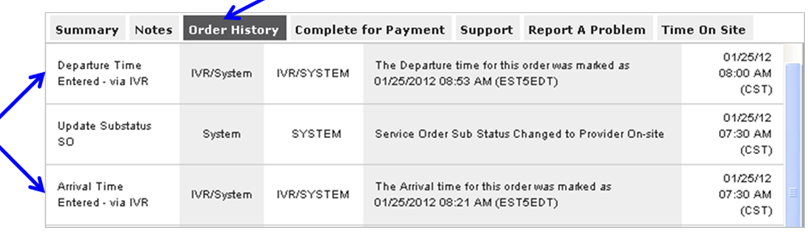
Note: A Provider Firm admin or owner might want to review Service Pros Time on Site for a specific Service Order.- Click on Order History tab.
Note: To access Order History tab, refer to Order History Tab lesson in Complete and Close a Service Order course for details. - This screen shot shows what will display when Time on Site information was automatically populated via IVR.
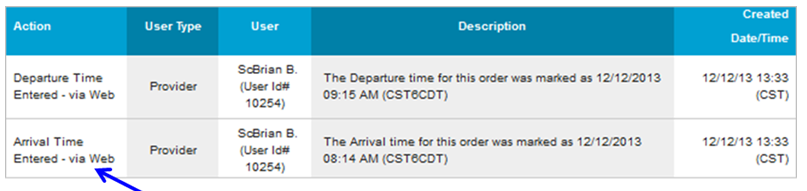
- This screen shot shows what will display when Time on Site information was manually entered.
- Click on Order History tab.
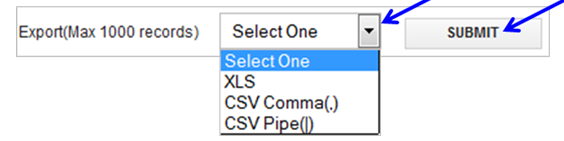
- Search Active Service Orders for missing Time on Site Information:
- Click on
 tab.
tab. - Click on Search tab.

- Click on
 (expand) button in front of Status.
 - Click on (expand) button in front of Active.
- Scroll down and click on Time Window Expired – Arrival.
- Scroll down and click on Time Window Expired – Departure.
- Click on
 button.
- This will display all your Active Service Orders that are missing Time on Site information.

- Click on
- Correct Active Service Orders with missing Time on Site information if needed:
- View Time on Site information, follow Step 4 (View Active Service Orders) previously explained in this lesson.
- Correct Time on Site information, follow Step 6 (Time on Site tab – Manually Add Entries) previously explained in this lesson.