This lesson shows steps to Accept Bid/Schedule Service Visit.
Note: Make sure you have followed the steps in Funding Request lesson in Manage Bids course to ensure the Bids meet Facilities funding approval limits before completing steps in this lesson.
- View Posted Service Orders/Bids on Response Status tab.
Note: Refer to steps in View Posted Service Orders/Bids lesson in Manage Bids course. - Scroll down to view all Bids, determine which bid you want to select.
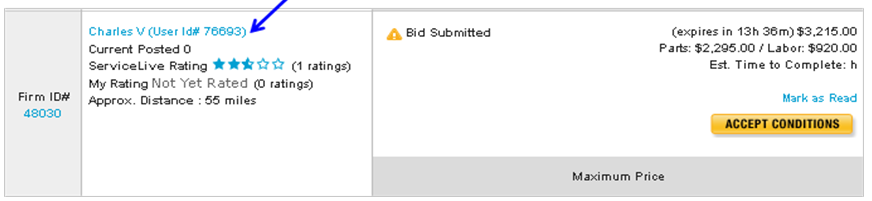
- Once you select which Bid you want, click on Firm ID# link.
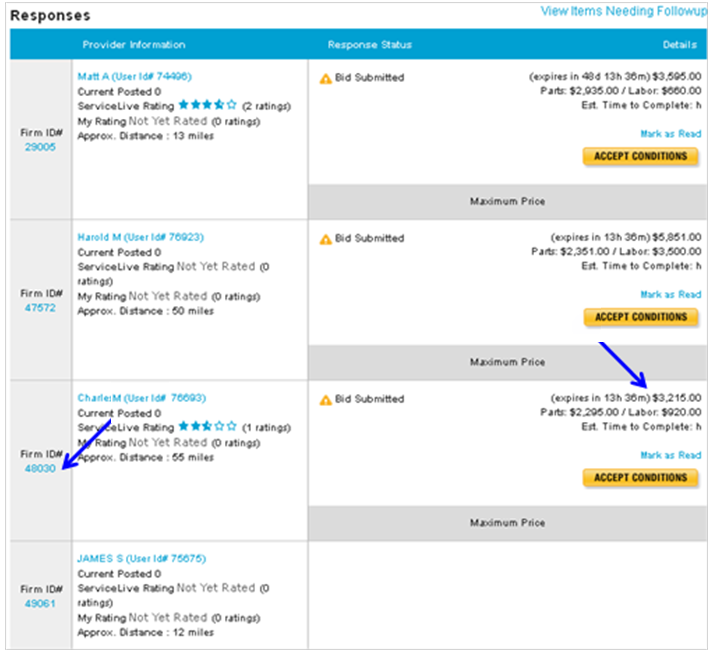
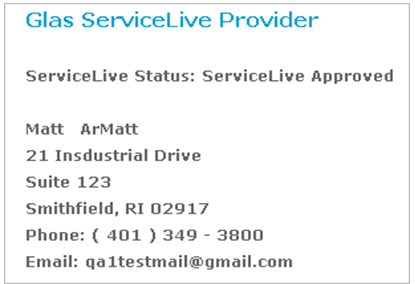
- This will display company name and info for Facilities Provider Firm.
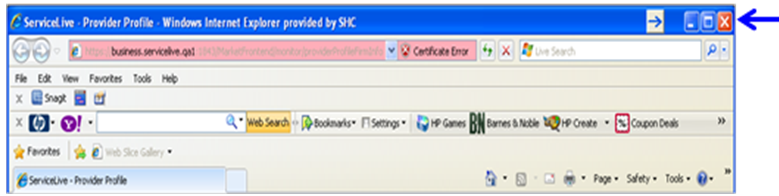
- Close the window following instructions below.
- If using Internet Explorer browser, a new window will open and you will need to close the window using the button in top right of browser window after reviewing information OR
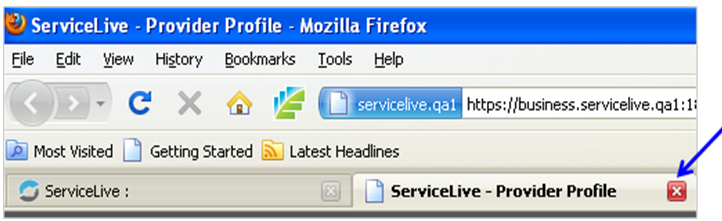
- If using Mozilla Firefox, click on button on browser tabs to close window after reviewing information.
- If using Internet Explorer browser, a new window will open and you will need to close the window using the button in top right of browser window after reviewing information OR
- Click on Service Pro name link in the Provider Information box to locate phone number for Service Pro.
Note: If there is no phone number on Service Pro profile, use the Provider Firm phone number that you found previously by Firm ID #.
- Call Service Pro to arrange date and time the work will be performed.
Note: A call provides the opportunity to discuss Service Order details, job site requirements, etc. - Click on
 button to agree to Provider terms which triggers ok for Provider to do work.
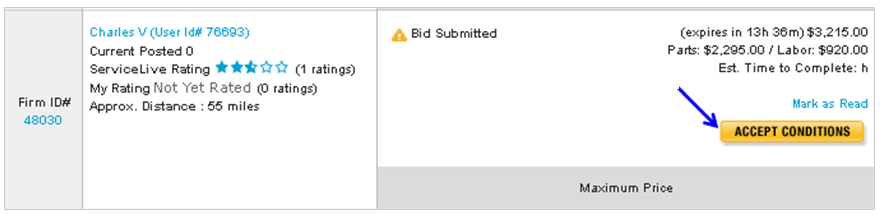
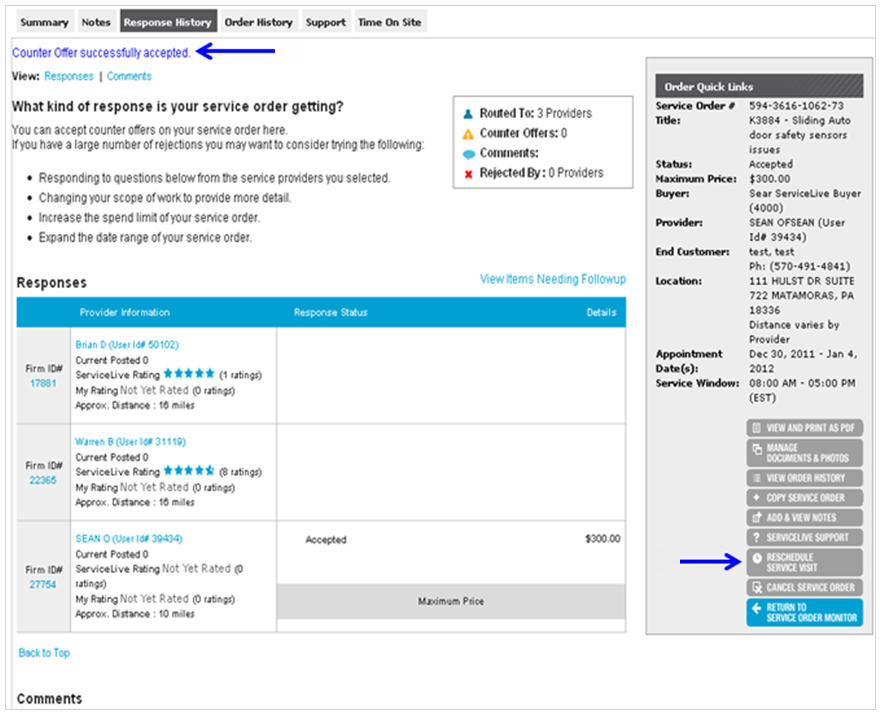
- You will see “Counter Offer successfully accepted” message at top of screen.
- While on phone with Provider, click on
 button on right side of screen.
Note: Remind Provider that they will receive an e-mail generated automatically by ServiceLive notifying them that they have a Service Order they need to accept the reschedule date and time in ServiceLive.
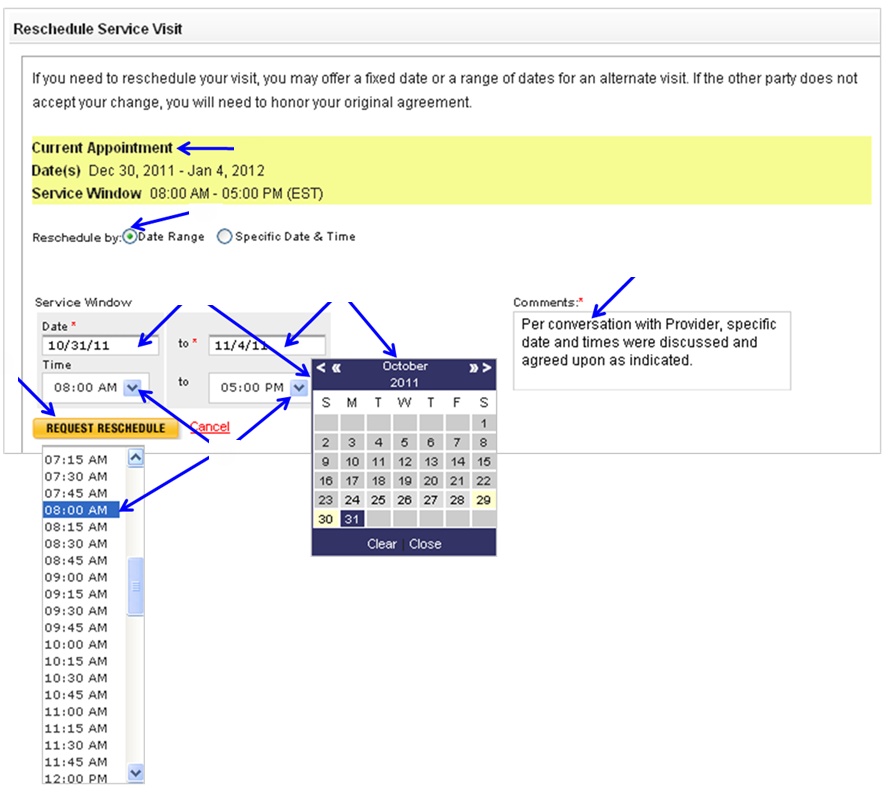
Note: This will open a Reschedule Service Visit screen so you can further define date and time the work will begin, which is explained in steps below.- The original date and time will display as Current Appointment (defaults to a 30 day window).
- Click on appropriate radio button to select “Date Range” or “Specific Date & Time”.
- Click on date field, calendar to select date will display.
- Repeat Step above to select appropriate completion date.
- Click on drop down arrow for start time and completion time.
- Type information in comments box with same or similar information as shown below.
- Click on
 button.
Note: This will both update the Service Order in ServiceLive with the new agreed upon date and time, which the Provider will need to “Accept” in ServiceLive before the Start Date of Service Order and also generate a reminder e-mail to the Provider. This Service Order will now be available for DFM to view on the Accepted tab.
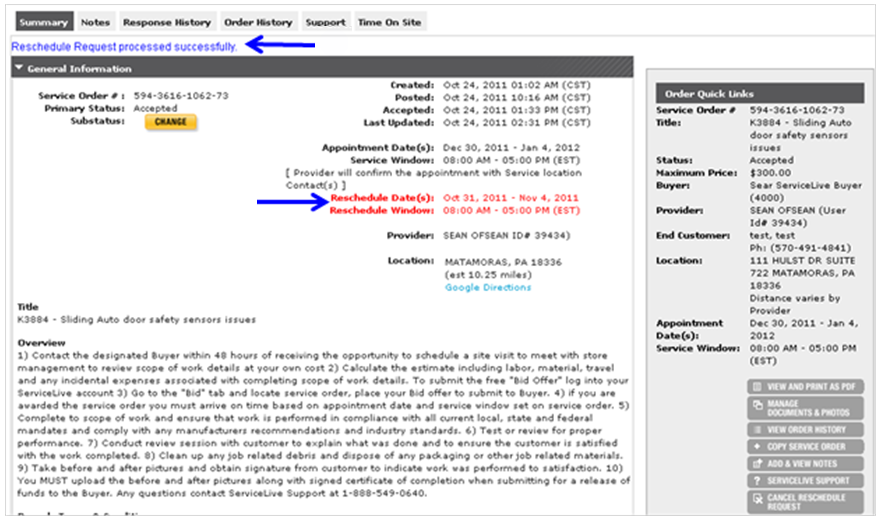
- You will see “Reschedule Request process successfully” message at top of screen.
- The Service Order reschedule date and time will display in red until the Provider accepts the Service Order.
Note: The ServiceLive Administrative team monitors the Service Orders, and will contact the Provider if they have not accepted Service Orders.
- Once the Provider completes the work, you can go to Close and Pay/Rate Provider lesson in Manage Bids course to follow steps to Close and Pay and Rate Provider.