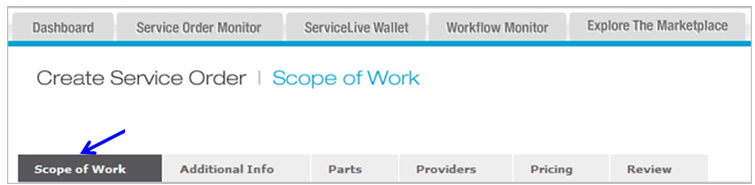
This lesson explains how to create and edit the Scope of Work tab for your Service Order. When Creating a Service Order you will be able to select Service Categories and Tasks, enter Service Location, Contact Information, Service Overview, Terms & Conditions, and attach Documents and Photos from the Scope of Work tab. When Creating a Service Order by Copying and Editing or by SKU, sections on Scope of Work Tab will auto-populate with information from saved template Service Order Template. Refer to Company documents for specific information that needs to be added, edited or confirmed on Scope of Work Tab.
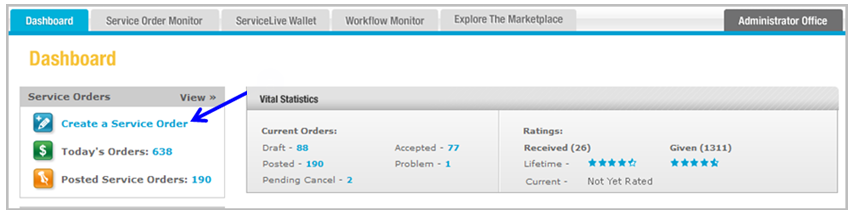
- Click on
 link from ServiceLive dashboard.
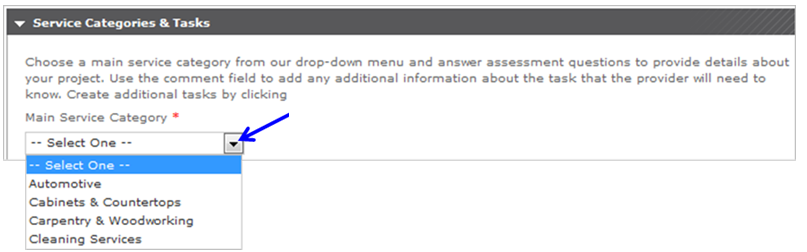
- Service Categories & Tasks section:
- Click on drop down arrow labeled “Main Service Category” and select appropriate choice.
Note: Once you select a Main Service Category, you cannot change it without starting over. If you are Creating a Service Order by Copying/Editing and the category does not matter the Scope of Work for the Service Order you must delete or void the draft and start over.
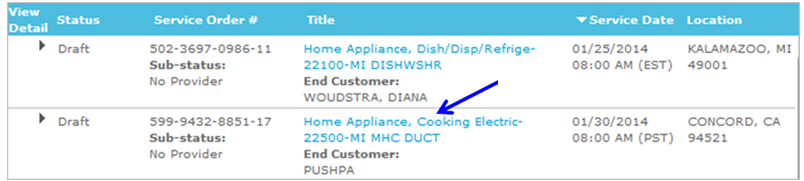
- OR if you have already Created a Service Order and need to edit, click on
 tab.
tab. - Click on
 tab.
tab.

- Click on title link of appropriate Service Order.
- Click on
 button.

- Click on
 tab if not already selected.
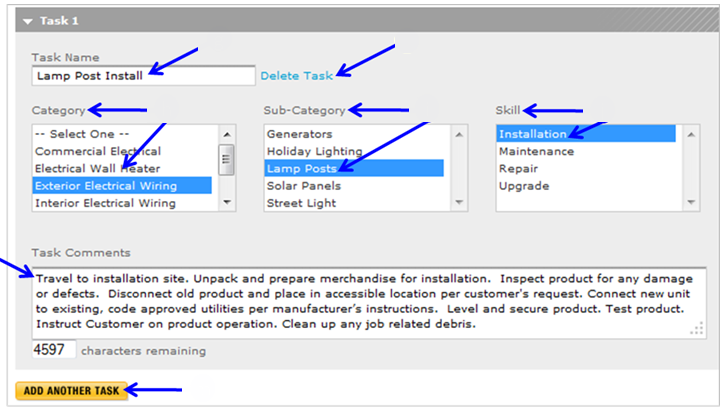
- Enter or edit Task Name in field.
Note: Task Name should be different from Service Order Title Name. Be specific in name but not to elaborate. - Scroll down and select appropriate Category for work.
Note: Category choices will vary depending on Main Service Category choice. - Scroll down and select appropriate Sub-Category for work if applicable.
Note: Sub-Category choices will vary depending on Category choice. - Scroll down and select appropriate Skill for work if applicable.
Note: Skill choices will vary depending on Sub-Category choice. - Enter or edit Task Comments in field.
- Click on
 link to delete task from Service Order.
 - OR click
 button to add additional tasks to Service Order and repeat steps 2b – 2h.
- Click on drop down arrow labeled “Main Service Category” and select appropriate choice.
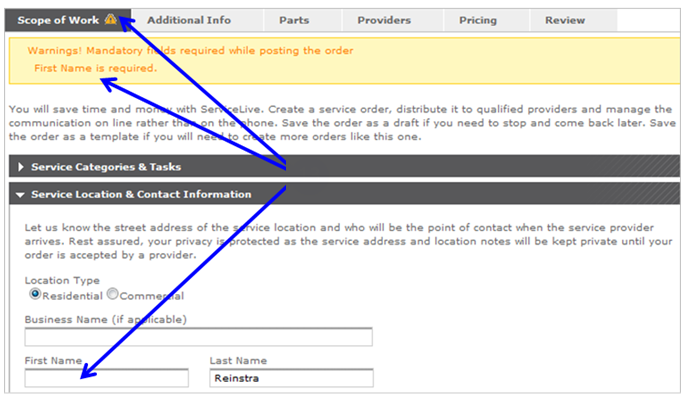
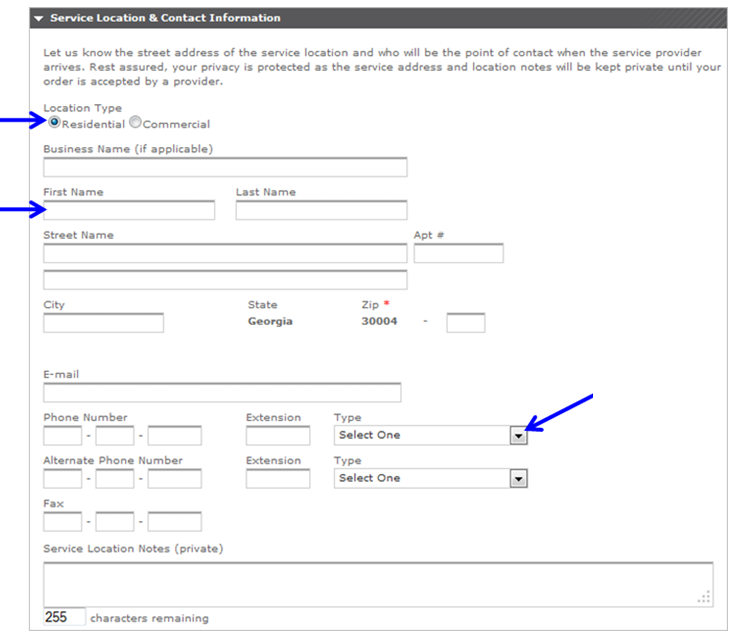
- Service Location & Contact Information section:
- Select appropriate radio buttons.
- Enter or edit required information in fields.
- Click on drop down arrows to display and select appropriate choices.
- General Information section:
- Enter or enter Service Order Title.
- We strongly advise that the Service Order Title be a short, to-the-point description as it is one of the few items a Provider Firm will see when the deciding whether to accept Posted Service Order.
- If you are creating this Service Order to serve as a template so that you can later copy it, you will want to name the Service Order “Type of Order Template”, example “LCD TV TEMPLATE”.
- Enter or edit Overview.
- Overview should be short but very to the point explaining the Scope of Work for the Service Order. This is another key item the Provider Firm will ready quickly to decide whether or not to accept the Service Order.
- Enter or edit Buyer Terms & Conditions.
Note: Terms & Conditions are not visible until the Service Order is accepted.- This is where you state what you will and will not allow (i.e. Service Order must be closed within 24 hours of service rendered or payment will be withheld).
- Enter or edit Special Instructions.

- Enter or enter Service Order Title.
- Schedule section:
- Select appropriate radio button for Service Date Type:
- Fixed = Service Order is scheduled for a specific date and time.
- Range = Service Order is scheduled for window of time.
- Click in first field labeled “Date” and calendar will appear, click on appropriate beginning date (month, date, year) for Service Window.
- Click in second field labeled “Date” and calendar will appear, click on appropriate ending date (month, date, year) for Service Window.
Note: You will only be able to select one date if you selected Fixed. - Click on first drop down arrow labeled “Time” and scroll down to select appropriate beginning time choice.
- Click on second drop down arrow labeled “Time” and scroll down to select appropriate ending time choice.
Note: You will only be able to select one time if you selected Fixed.

- Select appropriate radio button to indicate whether you would like the Provider Firm to confirm the service time with the service location contact.
Note: Defaults to radio button labeled “Yes”.

- Select appropriate radio button for Service Date Type:
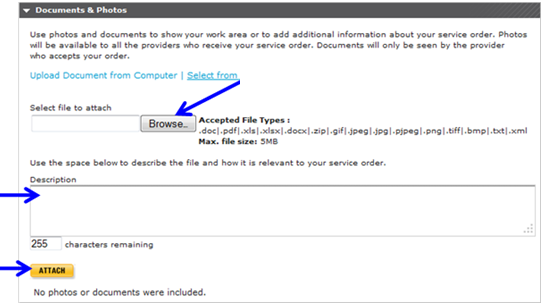
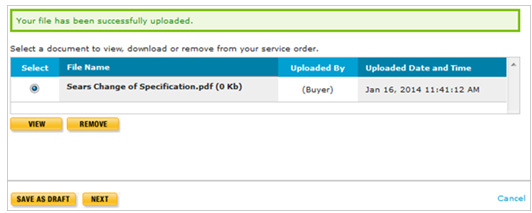
- Documents and Photos section – Upload Document from Computer:
Note: Documents maybe be auto loaded if your Firm uses Document Manager.- Click on
 button to locate file from your computer.
 - Enter or edit document description in field.
- Click
 button.
- Click on
- Documents and Photos – Select from Previously Uploaded Files:
- Click on link labeled “Select from Previously Uploaded Files”.
- Click on appropriate checkbox(es) of files to upload.
- Click on button.

- Attached documents display.
- Repeat Steps 6 OR 7 for each document you need to Attach OR skip to steps 8 & 9 to View and/or Remove Attached documents and photos.
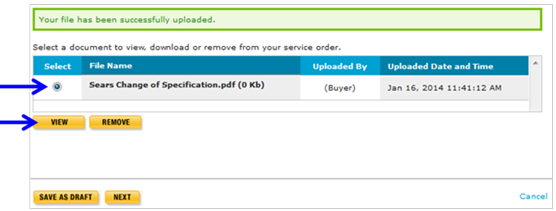
- Documents and Photos – View attached Documents and Photos:
- Select appropriate radio button to view document.
- Click on
 button.
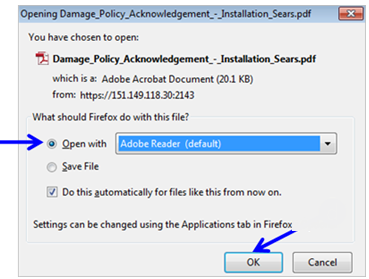
- Click on radio button labeled “Open With”.
- Click on
 button.
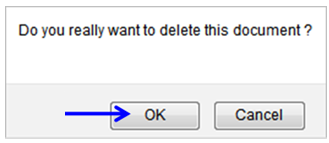
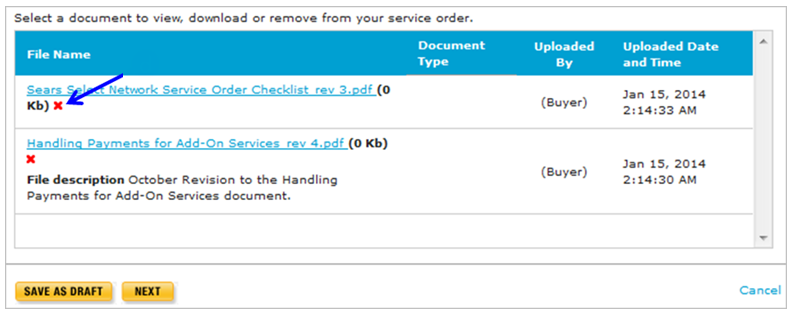
- Documents and Photos – Remove/Delete Documents and Photos:
Important: This process will look slightly different if you delete a document or photo immediately after attaching, or if you delete a photo from a Service Order in Draft status.- Select radio button of document to delete.
- Click on
 button.

- Click button to confirm document or photo deletion.
- If deleting from a Service Order in Draft status, click on the
 next to appropriate document or photo you desire to delete.
- Click button to confirm document or photo deletion.
- Click
 button to save and exit Service Order.
 - OR click
 button to continue creating Service Order. Refer to Additional Info Tab lesson in Create a Service Order course for next steps.
 - If you completed all required fields, a
 icon displays on Scope of Work tab indicating successful tab completion.
 - If you have one or multiple data errors, a
 icon displays on Scope of Work tab and errors display in red. You will need to go back and make the necessary changes and click on button OR button.