This lesson explains how to add users, reset passwords, and how to edit user profiles: General Information, Marketplace Preferences, Service Order Communication Preferences, Maximum Transaction Limit and Buyer Terms & Conditions tabs. This is available to Buyer Admin and anyone that was granted Manage User Profile Permission by Buyer Admin.
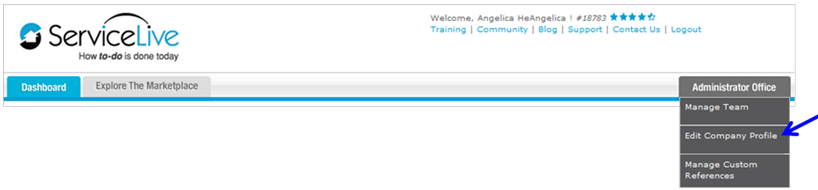
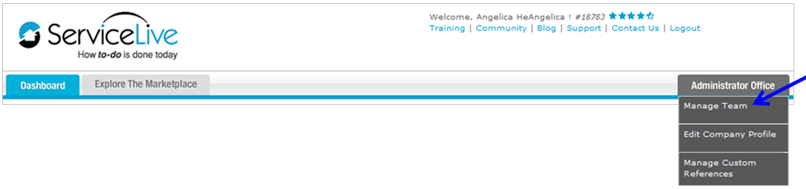
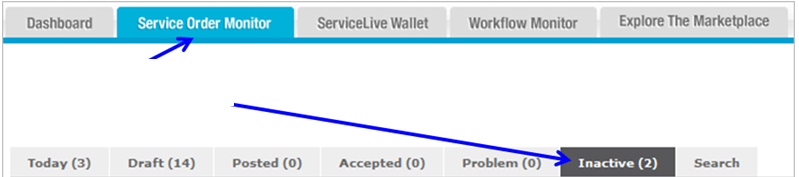
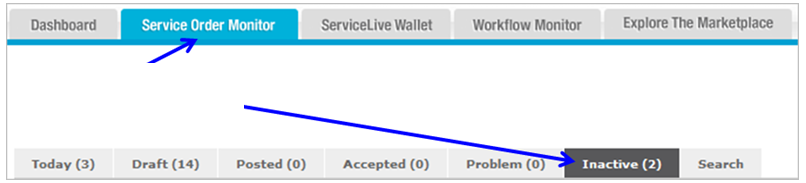
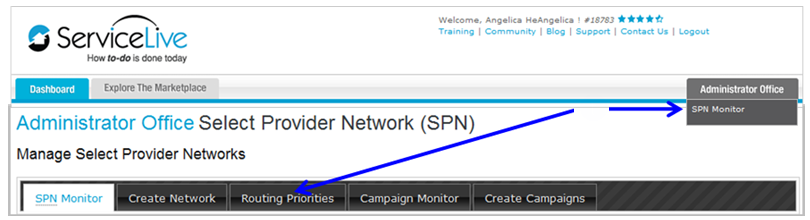
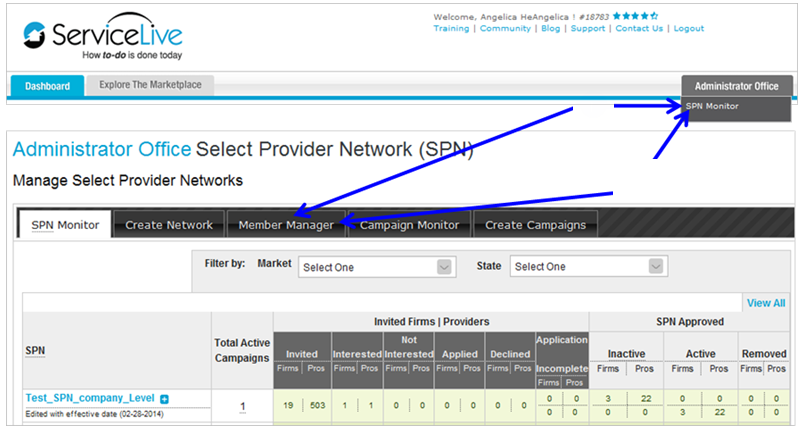
- Navigate to Manage Team:
- Click on
 tab.
tab. - Click on
 link.
link.
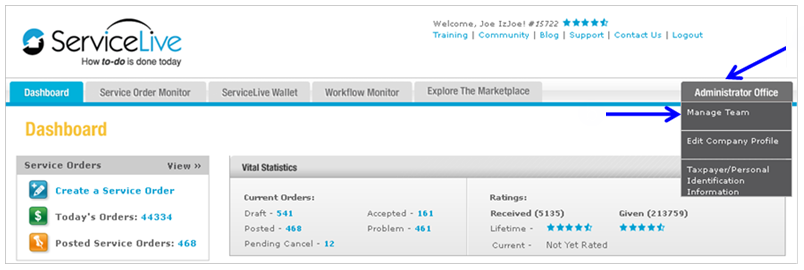
- Buyer User list displays.
- Scroll to bottom of page and click on
 button.

- Click on
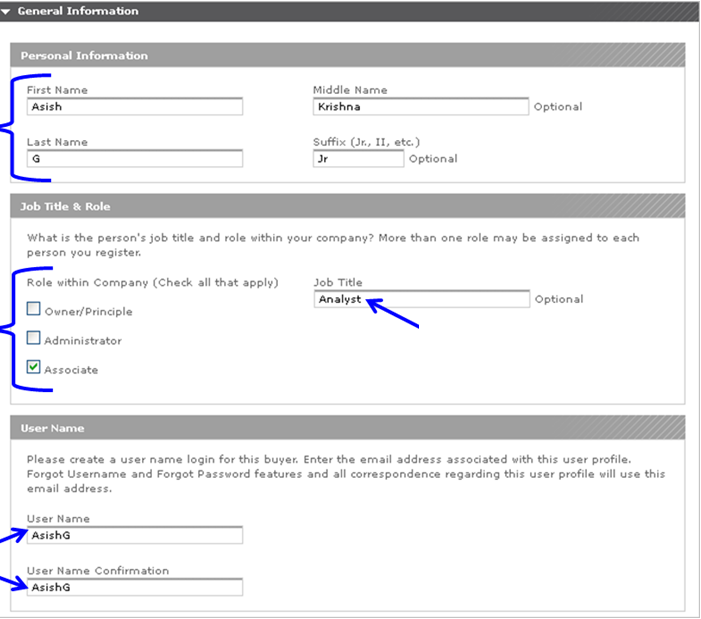
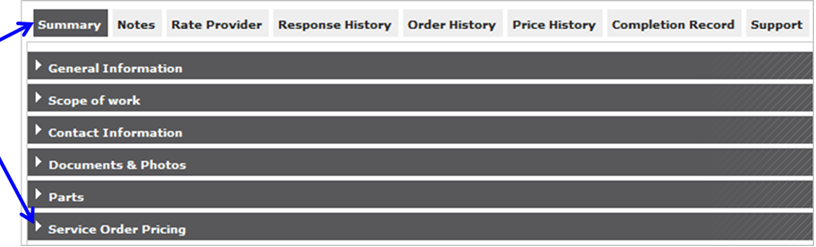
- General Information:
- Enter required information in Personal Information section by clicking in each field provided.
- Name, Middle Name (Optional), Last Name, Suffix (Optional).
- Select checkbox to assign user role in Job Title & Role section.
Note: You may select multiple roles for a single user. Assigning roles does NOT assign permissions (see Step 4 to assign permissions to a user).- Owner/Principle, Administrator, Associate.
- Enter Job Title in field, if desired.
- Enter and confirm desired User Name.
- Enter required information in Personal Information section by clicking in each field provided.
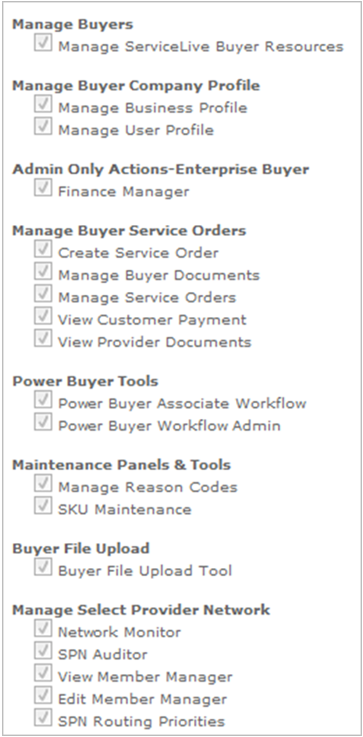
- Marketplace Preferences:
Note: These permission options will vary according to how your Buyer account was setup. You may select multiple Buyer Permission boxes for each user. You might select one set of permissions for a dispatcher or office administrator and a different set of permissions for your users. If you select any/all of the Buyer Permissions, the User will have access to edit/view (and possibly create within) each specific area as described below. If a permission option is not described below, please contact your ServiceLive Account Manager for further information.- Select appropriate checkboxes to select permissions.
Note: The next several steps explain specifics for each of these permissions. On the last page of this lesson there is a comprehensive chart outlining permissions.
- Manage Custom Reference allows users ability to view/edit custom reference fields that can be used to associate your ServiceLive Service Orders with an identifier that has meaning in your system. For example, you may need to associate a ticket number from your system to a Service Order in ServiceLive.
- Select
 on permissions page to enable this feature.
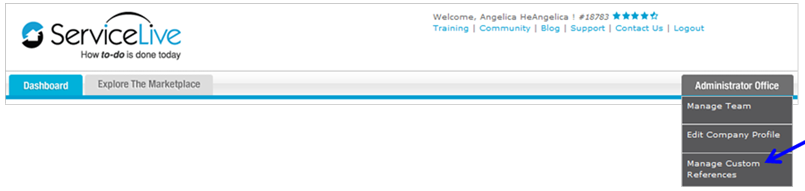
- Select
- Edit Company Profile allows users ability to view/edit Provider Firm’s company information entered in ServiceLive such as phone number and address.
- Select AND
 on permissions page to enable this feature.
- Select
- Manage Team allows users ability to add users and edit existing users profiles, permissions, reset passwords, etc.
- Select AND on permissions page to enable this feature.
- Select
- SeviceLive Wallet allows users ability to add/edit bank accounts for your company, complete transactions, view transaction history, etc.
- Select
 on permissions page to enable this feature.

- Select
- Create a Service Order allows users ability to create a Service Order from scratch or by SKU.
- Select
 on permissions page to enable this feature.
- Select
- Create Service Order from Template allows users ability to create a Service Order by copying a saved Service Order draft.
- Select
 on permissions page to enable this feature.

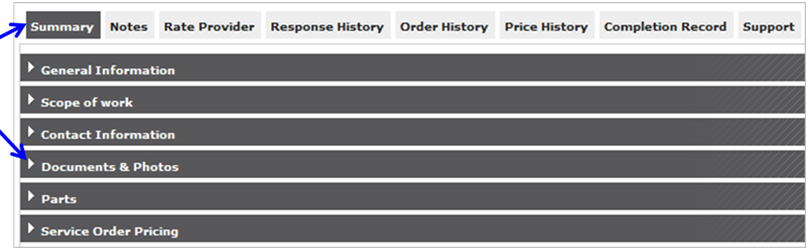
- Select
- Buyer Documents allows users ability to view/edit documents uploaded to ServiceLive that specify company policies and other conditions that Service Pros must follow when completing your Service Orders.
- Select
 on permissions page to enable this feature.
- Select
- Manage Service Orders allows users ability to manage all aspects of Service Order such as Accepting, Rejecting, Scheduling, Completing a Service Order, etc.
- Select on permissions page to enable this feature.
- Select
- Customer Payments allows users ability to view permit prices, labor costs, etc. associated with Service Orders.
- Select AND
 on permissions page to enable this feature.
- Select
- Provider Documents allows users ability to view uploaded Provider documents such as before and after photos, complete customer signed Service Order, etc.
- Select AND
 on permissions page to enable this feature.
- Select
- Workflow Monitor allows user ability to manage Service Orders from Firm created queues on Workflow Monitor tab.
- Select on permissions page to enable this feature. Select AND
 on permissions page to enable Workflow Monitor AND the ability to search Service Orders via Workflow Monitor (Admin permission).

- Select
- Reason Codes allows user ability to create/view/edit reasons that display for Provider Firms during Service Order processing. For example, you can create your own list of reasons that Providers can choose from when Requesting a Reschedule.
- Select
 on permissions page to enable this feature.

- Select
- SKU Maintenance allow users ability to create/view/edit predefined tasks, scope of work or item with a per price unit to associate with a SKU.
- Select
 on permissions page to enable this feature.

- Select
- Service Order Import Tool allows users to create/import multiple Service Orders at the same time.
- Select
 on permissions page to enable this feature.

- Select
- SPN Monitor allows users ability to create/view/edit your Firms Select Provider Networks (SPN) and Network Campaigns.
- Select
 on permissions page to enable this feature.

- Select
- SPN Auditor allows users ability to audit Firms in Select Provider Networks (SPN) as they are onboarded to network.
- Select
 on permissions page to enable this feature.
- Select
- View Member Manager allows users ability to search/view Firms and Service Pros profile information from the Member Manager tab of SPN Monitor.
- Select AND
 on permissions page to enable this feature.
- Select
- Edit Member Manager allows users ability to search/view Firms and Service Pros profile information from the Member Manager tab of SPN Monitor as well as edit member status information.
- Select AND
 on permissions page to enable this feature.
- Select
- Routing Priorities allows users ability to create/view/edit Routing Priorities on a Select Provider Network (SPN) to route your Service Orders to higher performing SPN Providers in your network first.
- Select AND
 on permissions page to enable this feature.
- Select
- Select appropriate checkboxes to select permissions.
- Service Order Communication Preferences:
- Enter required information in Manage Service Order Communication Preferences section by clicking in each field provided.

- Enter required information in Manage Service Order Communication Preferences section by clicking in each field provided.
- Manage Maximum Transaction Limit:
Note: This limit allows user to Post and/or Close and Pay Service Orders up to the amount you designate here.- Enter Maximum limit per transaction in field.
Note: Enter 0.00 for no limit.

- Enter Maximum limit per transaction in field.
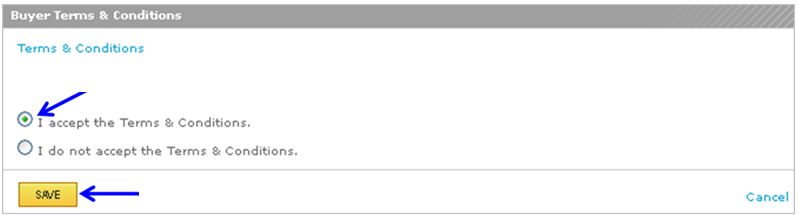
- Terms and Conditions:
- Click on radio button labeled “I accept the Terms & Conditions”.
- Click on
 button.
Note: Clicking on button triggers an auto-generated temporary password email that is sent to email address entered for first time login.
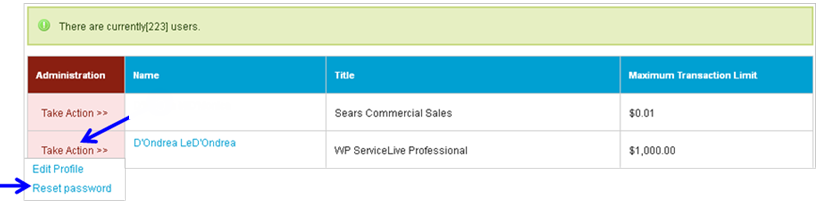
- Reset User Password:
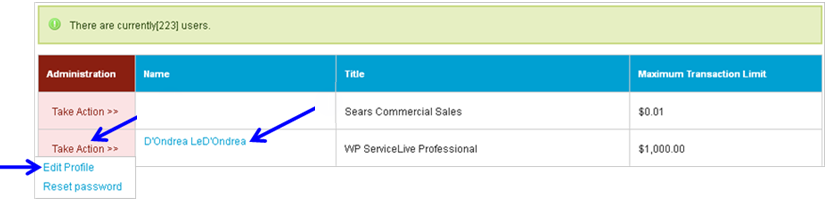
- Scroll down to user profile for which you would like to reset password.
- Hover over
 link.
link. - Click on
 link.
link.
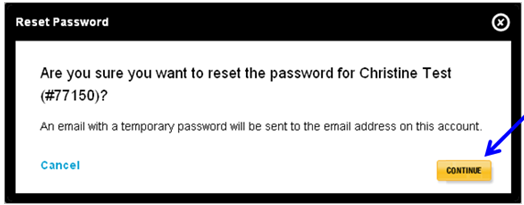
- Confirmation message will display, click on
 button.
Note: This will send a ServiceLive Password Reset e-mail to the email address linked to user.
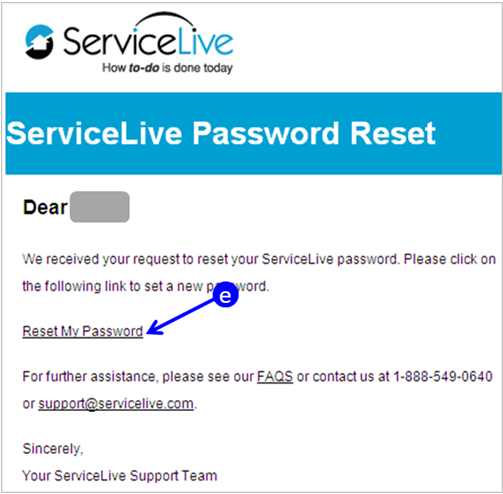
- Click on
 link in ServiceLive Password Reset e-mail you receive.
- Create your (new) password screen will display:
- Type and confirm a password following the specifications listed.
- Password strength will be identified in bar. If password is not strong, consider revising.
- Click on
 button.
 - This will reset your password and login you into ServiceLive.

- To Edit User Profile:
- Click on tab.
- Click on link.
- Scroll down to user profile you would like to edit.
- Hover over link.
- Click on
 link.
link. - OR click on user name.
- Refer to steps 3-7 to edit User information.
- Click on
- Remove a User:
- Click on tab.
- Click on link.
- Scroll down to user profile you would like to edit.
- Hover over link.
- Click on link.
- OR click on user name.
- Scroll down to bottom of page.
- Click on
 button.

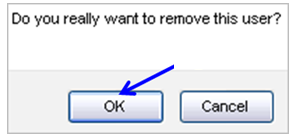
- Click on
 button in Remove User confirmation screen.
- Click on