Manage Leads
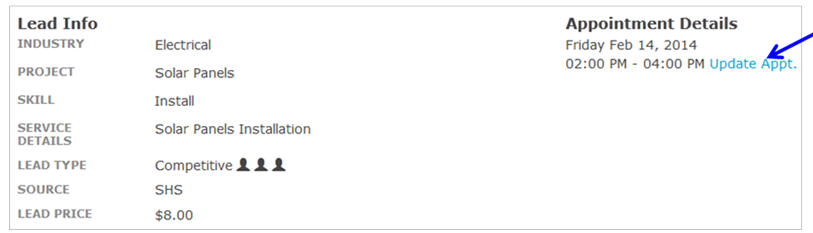
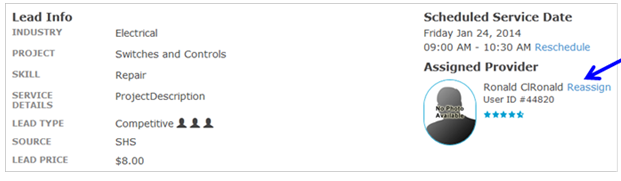
- Reschedule a Service Order:
- Click on
 link.
link.
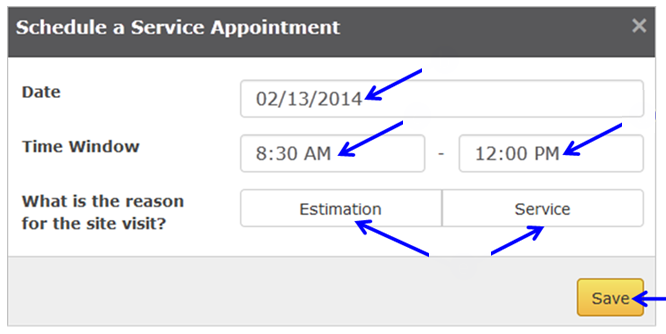
- Click in field labeled “Date” and select appropriate Service Appointment date.
- Click on first drop down arrow labeled “Time Window” and select appropriate beginning time for Service Appointment.
- Click on second drop down arrow labeled “Time Window” and select appropriate ending time for Service Appointment.
- Click appropriate button to select reason for Service visit.
Note: Service Reason is indicated when button is greyed.
- Click on
 button.
- Lead opportunity will still be marked as Scheduled and can be found in the Scheduled Tab.
- Assign Provider:
- Click on
 button.
Note: If you already assigned a Service Pro, this button will not display. Skip to step 7.

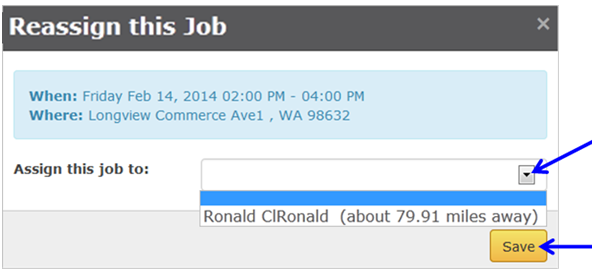
- Service Appointment, Time, and Location.
- Click on drop down arrow labeled “Assign this job to” and select appropriate Service Pro.
- Click on button.
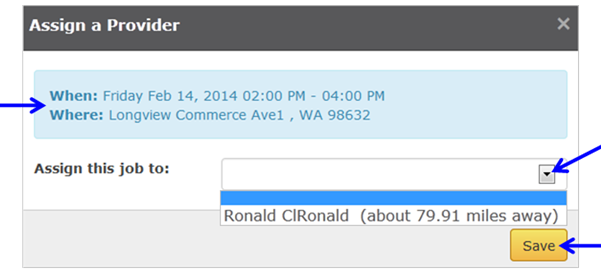
- Assign Provider Confirmation will display.

- Reassign Provider:
- To Reassign Provider click on
 link.
link.
- Click on drop down arrow labeled “Assign this job to” and select appropriate choice.
- Click on button.
- History Tab:
Note: History Tab is available in Scheduled, Working, Completed, Canceled and Stale tabs.
- Click on
 tab if not already displayed.
- Date/Time of action on Lead was taken.
- Description of action taken.
- User who initiated action.

- Notes Tab:
Note: Notes Tab is available in Scheduled, Working, Completed, Canceled and Stale tabs.
- Click on
 tab.
tab.
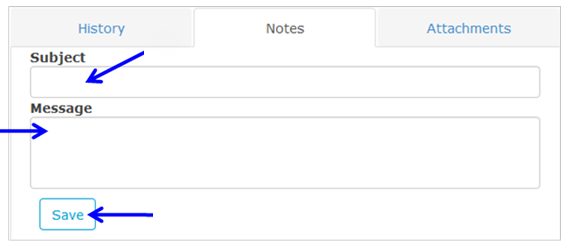
- To add a note, click on
 button.

- Enter Note Subject.
- Enter Note Message.
- Click on
 button
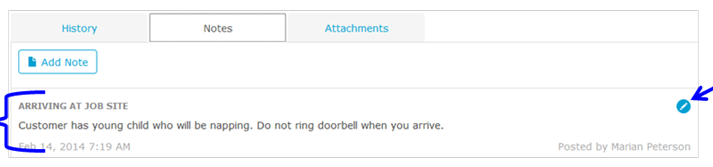
- Notes display on tab.
- To edit Note, click on
 button and repeat steps 10c – 10e.
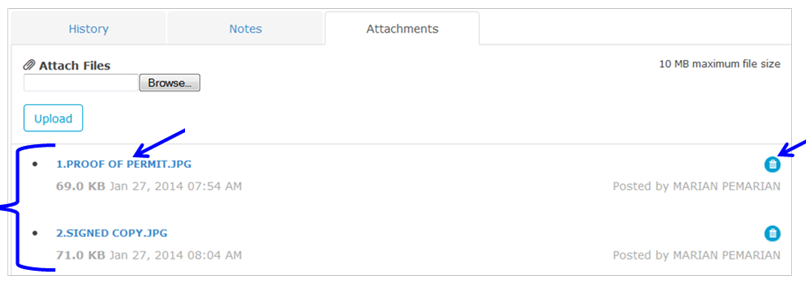
- Attachments Tab:
Note: Attachment Tab is available in Scheduled, Working, Completed, Canceled and Stale tabs.
- Click on
 tab.
tab.
- Click on
 button to locate file from your computer.
- Click on
 button.
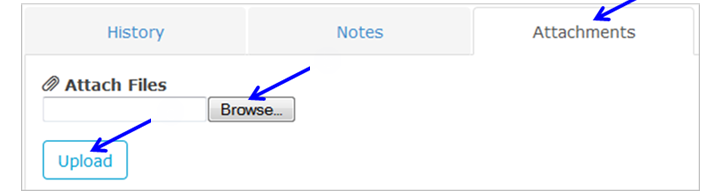
- Attachments display on tab.
- Click on file title link to view file.
- Click on
 button to delete file.