This Lesson explains how to apply to a Select Provider Network (SPN) and use DocuSign to complete the Sign and Return portion of the application.
- Login to ServiceLive, Dashboard will display.
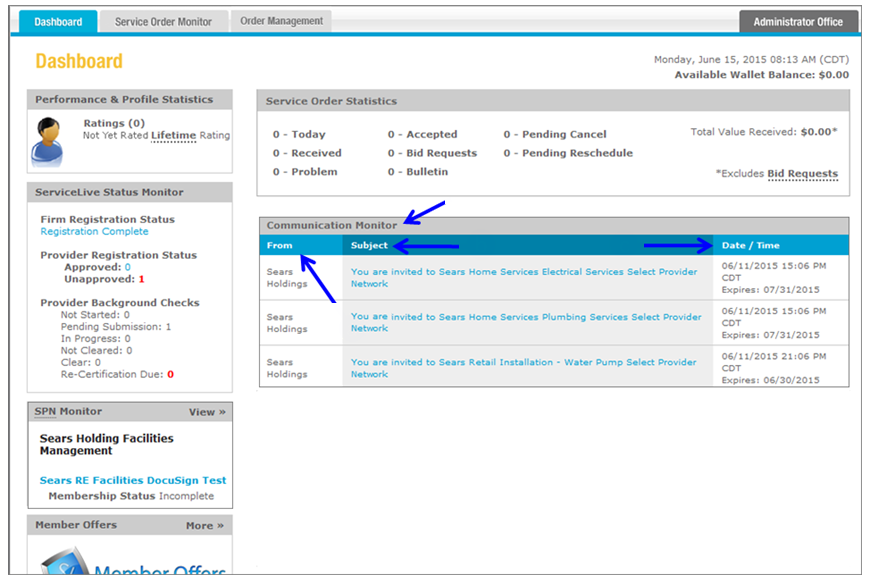
- Scroll to Communication Monitor:
Note: Communication Monitor only appears when you receive a new invitation.- From – The Buyer who is sending you the SPN invitation.
- Subject – The name of the SPN you are being invited to
- Date/Time – When the invitation was issued and when it expires.
Note: Invitation expires at midnight the day before the expiration date and are shown in grey.
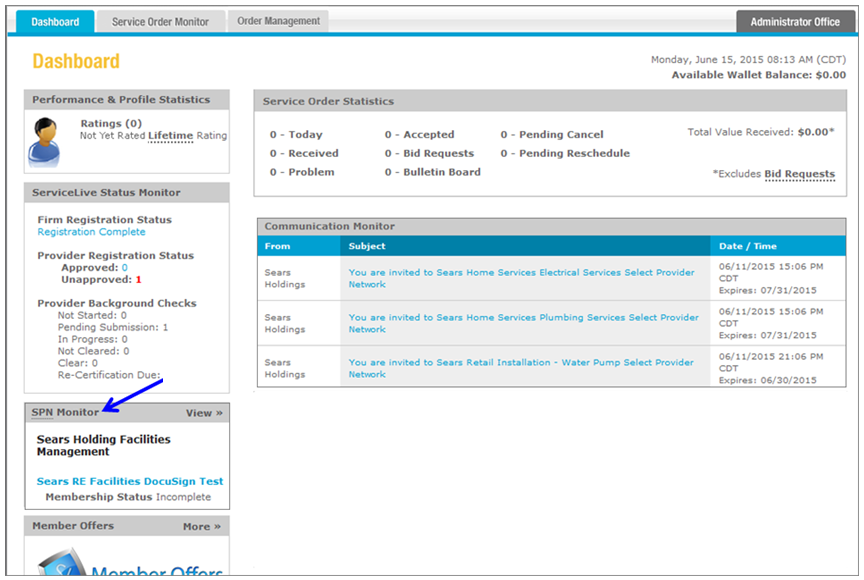
- View SPN Monitor:
Note: SPN Monitor will not appear unless you have accepted a SPN invitation.- Scroll down to view SPN Monitor on left side of screen.
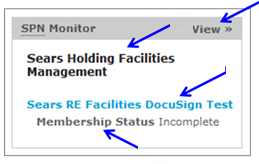
- SPN Buyer – Company who is inviting you to their SPN.
- Name of SPN.
Note: You can click on the blue link to view SPN details. - Membership Status:
Note: For questions on any of these statuses, contact the Buyer from information within the SPN invite email.- Incomplete
- Pending Approval
- Decline
- Out of Compliance (Inactive)
- Member
- Blank (Means Removed from SPN)
- You can click on View to view SPN Monitor.
- Scroll down to view SPN Monitor on left side of screen.
- Respond to SPN Invitation:
- From Communication Monitor, click on blue link for the SPN.
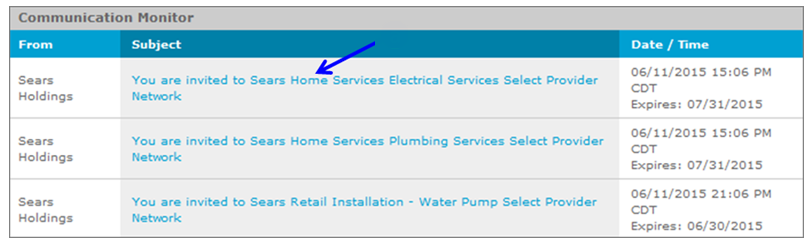
- From Communication Monitor, click on blue link for the SPN.
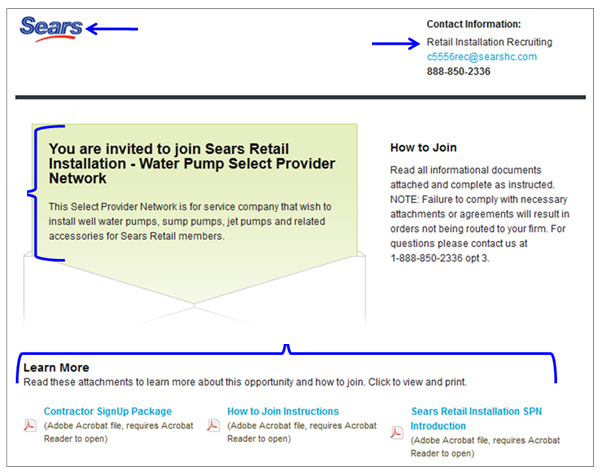
- SPN Invitation Example:You will receive and email when you have been invited to a SPN. To access invitation login to ServiceLive and view Communication Monitor. An email will be sent to your Provider Firm when you are invited to a SPN, the invitation link will appear in their “Communications Monitor” section within the Provider Firm’s Admin dashboard only. The following is a sample of the initial message Provider Firms receive from Communication Monitor and steps they follow to take action on invitation.
- Buyer Logo.
- Buyer Contact Information.
- Initial Invitation Message
- Learn More about the SPN by clicking on the attached documents.
Note: This is the document informational section of the SPN Invite. This information is related to the application.
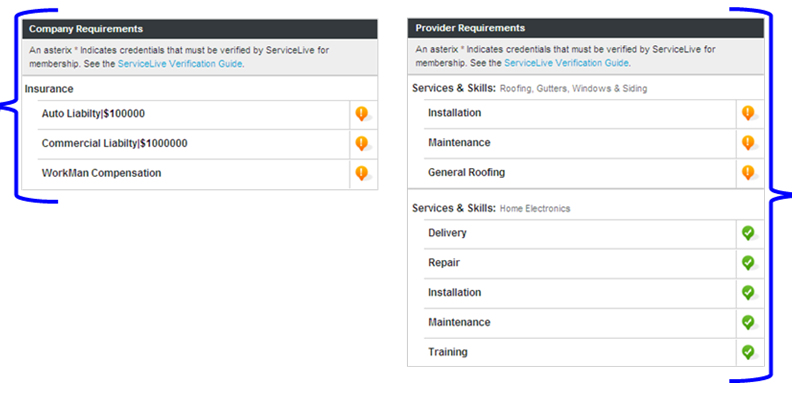
- SPN Required Criteria
Note: SPN Required Criteria is what is required of your Firm (Company) and your Service Providers in order to become a member of the SPN. - Click on
 link.
link.
Note: See step 5k to view Company Requirements. - Click on
 link.
link.
Note: See step 5l to view Provider Requirements. - Documents you will need to provide when you apply to SPN Membership.
- Click on
 button accept SPN invitation and move forward in the application process.
 - OR click on
 link to decline SPN Invitation.
Note: If you’re not interested please be sure to decline the invitation so they Buyer knows whether to continue pursuing your application or not.

- When you click on , Company Requirements will display.
- When you click on , Provider Requirements will display.
Note: Profiling each Service Pro who is going to accept work on the specific SPN is important because it could be the difference between becoming approved or not.
Apply for Membership:
- Click on button to accept the SPN invitation and move forward in the application process.
- SPN you are applying for will automatically expand on the SPN Monitor.
- Click to Agree:
Note: This is action is legally binding. Please be sure you read all documents before agreeing.- If there are Terms & Conditions, click on the blue link labeled Terms & Conditions.
Note: A PDF of Terms & Conditions will open. Read document and then close document. - Click on
 button, to Agree to Terms & Conditions.
Note: Cannot click on “Agree” button until you open PDF document.

- If there are Terms & Conditions, click on the blue link labeled Terms & Conditions.
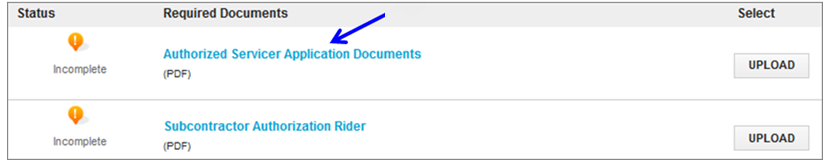
- Sign and Return:
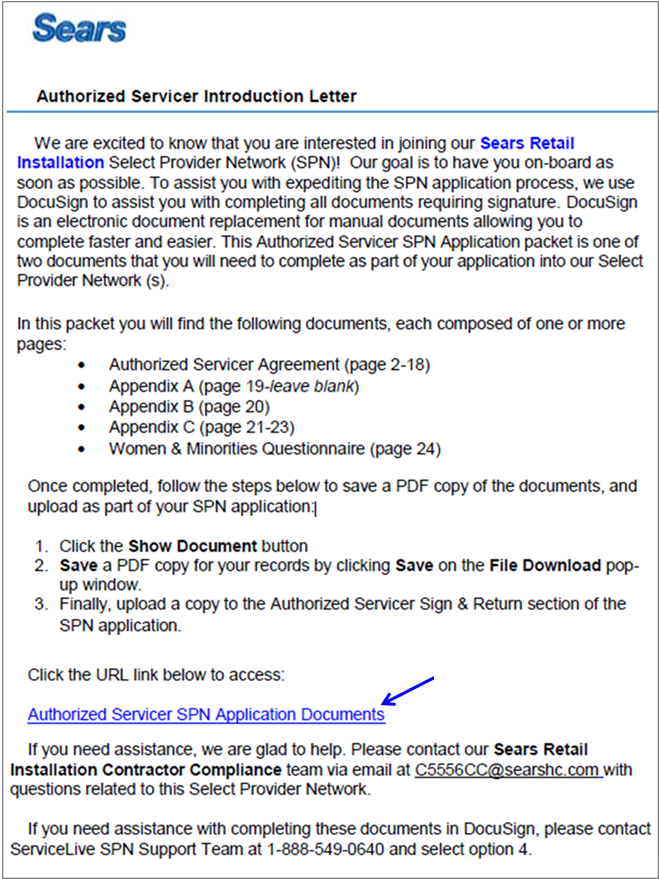
Note: These documents are also legally binding and require that the applicant return a signed acknowledgement to the Buyer. To make this process easier we have implemented Docusign. DocuSign allows us to leverage technology to replace the manual process requiring printing of documents, manual writing, scanning and uploading documents.- Click on blue link to open PDF.
- PDF will open.
- Click on blue hyperlink at bottom of page to access required application documents in DocuSign.
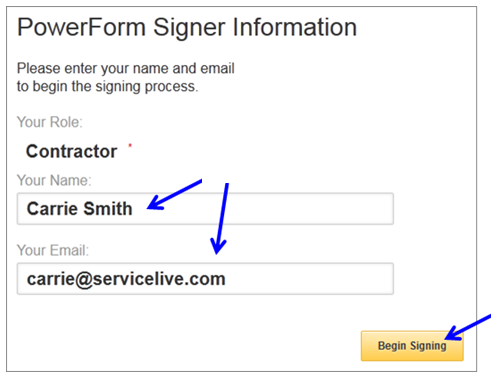
- DocuSign website will open.
- Enter your first name and last name, and your email address.
Note: Sign with full name (i.e. Joe Smith) NOT with Business name (i.e. Joe’s Plumbing) - Click on
 button.
- Begin reviewing document.
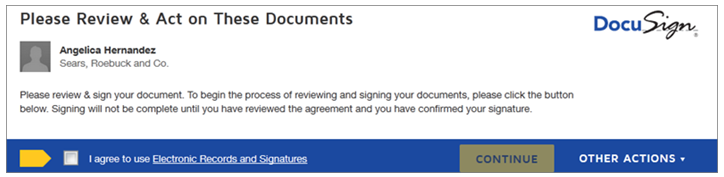
- Select “I agree to use Electronic Records & Signatures” checkbox.
- Click on
 button.

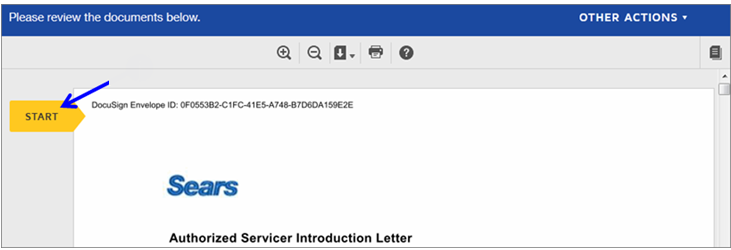
- Read through document and then click on
 button.
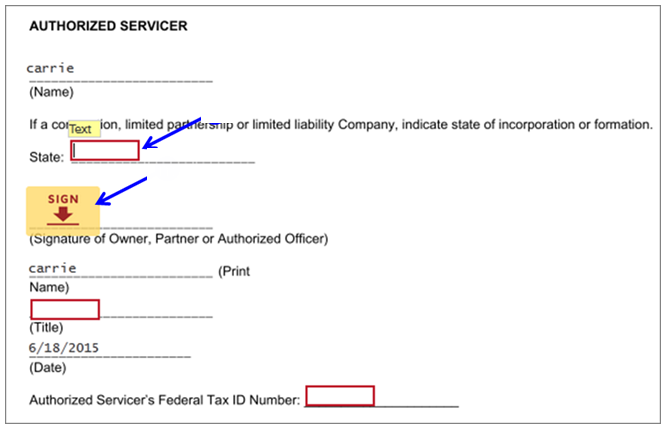
- Once you click on button, the system will bring you to the first thing you need to fill in.
- Red boxes indicate required fields.
- To sign the document, click on
 button.
Note: The first time you sign, you will be required to Adopt your Signature. See next step.
- Adopt your Signature screen will appear the first time you sign a document.
- Check that your Full Name AND Initials are correct.
Note: If you entered information incorrectly when starting the DocuSign process, now is the time to correct it. - Preview what signature will look like when signed.
- Click on
 button.
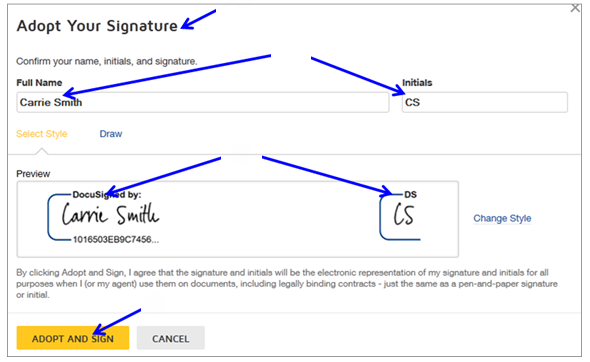
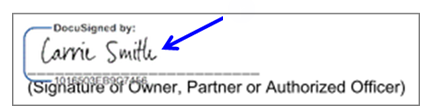
- Signature will insert into document.
- Click on
 button at bottom of page.
Note: Finish button will not appear until all required fields are complete. - Click on
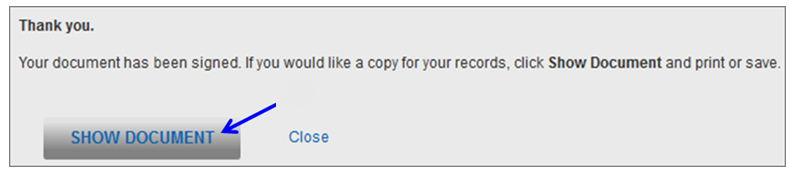
 button to Save the copy of the document to be uploaded with your SPN application.
Note: It is recommended that you Save document to Desktop for easy access to saved file.
- Click on blue link to open PDF.
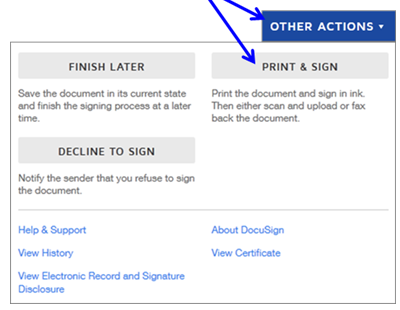
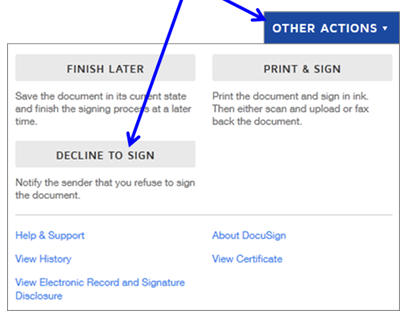
- Other Actions:
- Finish DocuSign Later:
Note: Although this option is available, using this feature means losing all information completed thus far. When Finish Later is clicked, the document completion is cancelled and Provider will have to start over by clicking the same invitation link.
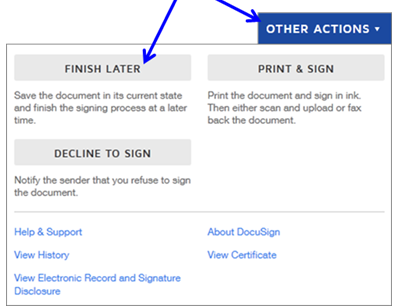
- Print & Sign Later:
Note: This is NOT an authorized option and should NOT be used, as this would require you to manually complete the forms, scan, and upload to the SPN. Instead follow step 4s & 4t.
- Decline to Sign:
Note: In certain cases, you may decide to decline signing the required documents. If you do this, you will not be admitted to the SPN. If at any time you change your mind you can access the documents to reapply as long as the invitation is not expired.
- Finish DocuSign Later:
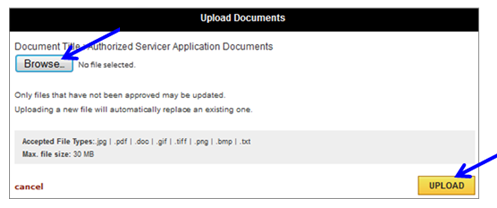
- Upload Documents:
- Once back on the SPN Monitor page, locate the document you just signed and click the “Upload” button.

- Click on “Browse” button and locate the PDF you just saved.
- Click on
 button.
- Repeat steps 6a-6c for all documents.
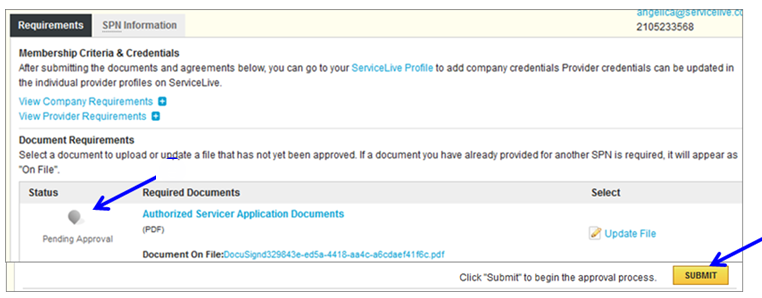
- Once files are uploaded document status will change to Pending Approval.
- Once all requirements are complete, remember to click on “Submit” button to send application to Buyer for review.
Note: If the application documents do not meet the Buyer’s compliance requirements, you will receive a system generated email notification and the document(s) status will change from Pending Approval back to Incomplete.
- Once back on the SPN Monitor page, locate the document you just signed and click the “Upload” button.